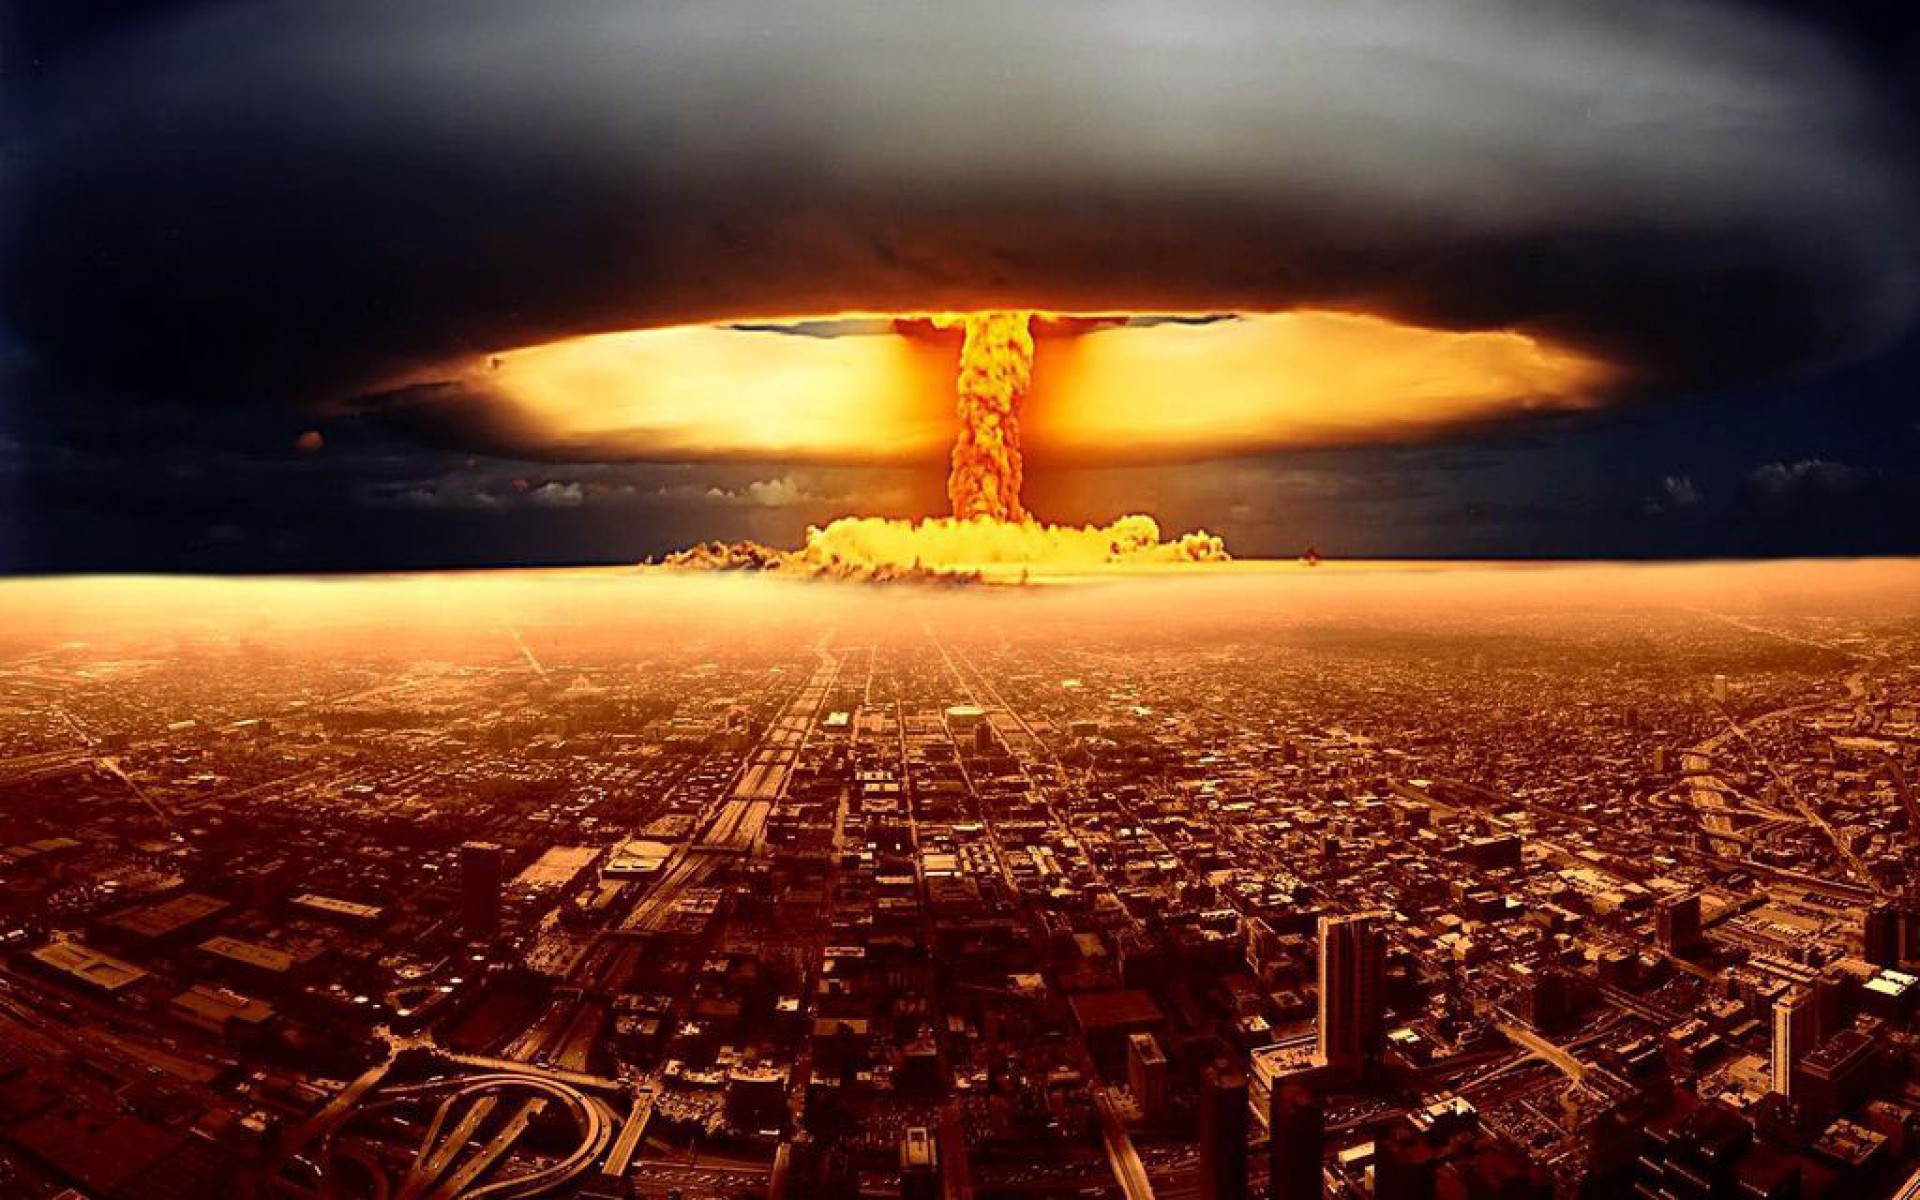
Humankind have detonated 17 nuclear devices in space during the cold war the largest being the US Starfish at 1.4 Megatons. From Wikipedia:
“Starfish Prime produced an artificial radiation belt in space which soon destroyed three satellites (Ariel,TRAAC, and Transit 4B all failed after traversing the radiation belt, while Cosmos V, Injun I and Telstar 1 suffered minor degradation, due to some radiation damage to solar cells, etc.).”
“The worst effects of a Soviet high-altitude test occurred on 22 October 1962, in the Soviet Project K nuclear tests (ABM System A proof tests) when a 300 kt missile-warhead detonated near Dzhezkazgan at 290-km altitude. The EMP fused 570 km of overhead telephone line with a measured current of 2,500 A, started a fire that burned down the Karaganda power plant, and shut down 1,000-km of shallow-buried power cables between Aqmola and Almaty.”
If you are playing in the Traveller setting nukes are only allowed by the Imperial Navy or System defense forces and can only be used in wartime. Mercenary slang for wars involving nukes is ‘Bad war’, all other wars are called ‘Good war’.
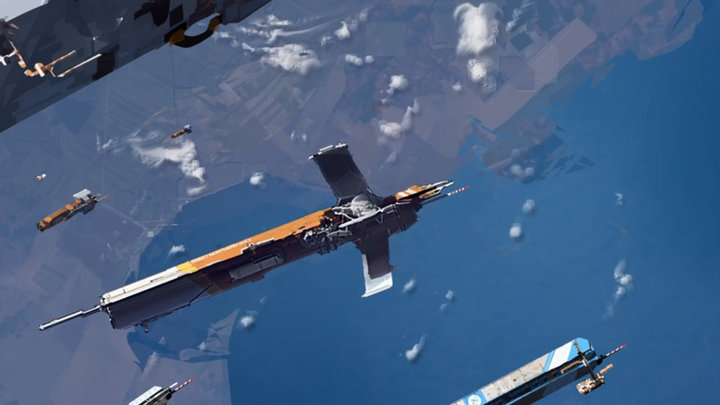
Missile nuke option
- Large nuclear missile TL 6+
- Medium nuclear missile TL 7+
- Small nuclear missile TL 8+
Consult the tech chart above to see at what Tech Level each missile class gets the nuke option. Nuke option reduce thrust with -2G and have a price multiplier of x10. PEN & DAM +12 when directly impacting a target but they can also be proximity detonated for +3 DM to hit and PEN & DAM -6, proximity detonation is not a design option but a choice the missile operator can do when attacking.
Nuke attacks and defense
Nuke attacks work the same as for normal missiles but the target may defend using one laser battery and one nuclear damper battery. Ships with a functional Neutrino detector will know if a missile is a nuke or not, all others must guess. Firing a nuclear damper on non-nuke missiles has no effect, of course.
Proximity detonation
The nuke missile operator may elect to detonate the nuke some way off the target for a +3 DM and PEN & DAM -6. Damage from proximity detonations should use the Spray fire rules were the degrees of success give more hits rather than more damage at one hit.
- VGood 3 Fair hits
- Good 2 Fair hits
- Fair 1 Fair hit
Nuke secondary effects
The X-Ray, neutrino and gravity burst from the detonation also affect nearby ships interfering with their sensors. Visual/IR and Radar lose any tracks unless they were popped down, Neutrino and Mass lose their tracks regardless. Max range for this effect depend on the size of the missile:
- Small 1 square
- Medium 3 squares
- Large 5 squares
Fleet tacticians and nukes
Fleet tacticians allow their Ship tacticians to fly more dispersed formations. An Expert+ Fleet tactician allow his Ship tactician to have a wide enough separation from any nuke secondary effects!
Ripley: I say we take off and nuke the entire site from orbit. It’s the only way to be sure.
Hudson: Fuckin’ A!
Burke: Hold on a second. This installation has a substantial dollar value attached to it.
Ripley: They can *bill* me.